Why Accessibility Is Crucial in 2026 Web Design
Web accessibility is no longer an optional feature—it is a fundamental requirement. In 2026, digital experiences must be inclusive, usable, and equitable for everyone. Understanding why accessibility is crucial in 2026 web design helps businesses reach wider audiences, improve user experience, and meet modern digital standards.
Accessibility is not just about compliance; it is about creating better websites for all users.
Digital Inclusion Is a Core Expectation
One of the strongest reasons why accessibility is crucial in 2026 web design is the growing expectation of digital inclusion. Users of all abilities, ages, and technical backgrounds access websites daily.
Accessible design ensures:
-
Equal access to information
-
Usability for people with disabilities
-
Better experiences for older users
-
Support for low-bandwidth and older devices
Inclusive websites serve everyone, not just a select group.
Accessibility Improves Overall User Experience
Accessibility and UX go hand in hand. This is a major reason why accessibility is crucial in 2026 web design. Features designed for accessibility often improve usability for all users.
Examples include:
-
Clear navigation structures
-
Readable fonts and contrast
-
Simple language and layouts
-
Logical content flow
An accessible website is easier, faster, and more enjoyable to use.
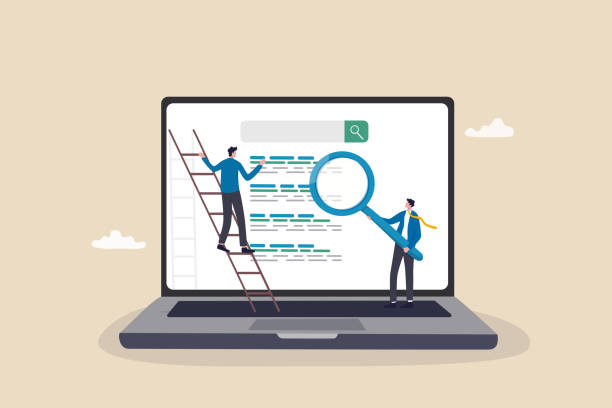
Search Engines Reward Accessible Websites
Search engines increasingly prioritize accessibility-related factors. This explains why accessibility web design from an SEO perspective.
Accessible design improves:
-
Semantic HTML structure
-
Page readability and clarity
-
Crawlability and indexing
-
User engagement metrics
Better accessibility often leads to better search visibility and rankings.
Mobile and Accessibility Are Closely Connected
Mobile usage dominates digital traffic, making accessibility even more important. This reinforces accessibility is crucial in web design.
Mobile accessibility includes:
-
Touch-friendly buttons
-
Scalable text sizes
-
Voice navigation support
-
Screen-reader compatibility
Accessible mobile design ensures smooth experiences across all devices.
AI and Voice Interfaces Depend on Accessibility
AI-driven experiences rely heavily on accessible design principles. Another key reason accessibility is crucial in web design is the rise of voice search and conversational interfaces.
Accessibility supports:
-
Voice-based navigation
-
AI assistants and chatbots
-
Natural language interaction
-
Predictive and adaptive UX
Websites built with accessibility in mind are better prepared for AI-powered interactions.
Legal Compliance and Risk Reduction
Governments and regulatory bodies worldwide are strengthening digital accessibility guidelines. This highlights why accessibility is crucial in 2026 web design from a compliance standpoint.
Accessible websites help:
-
Meet legal and regulatory requirements
-
Reduce legal risks and penalties
-
Align with global accessibility standards
In India, inclusive digital initiatives and accessibility guidelines are promoted by the Ministry of Electronics and Information Technology.
Accessibility Builds Brand Trust and Reputation
Trust is a major factor in digital success. This is another important reason why accessibility is crucial in 2026 web design.
Accessible websites communicate:
-
Social responsibility
-
Ethical digital practices
-
Customer-first values
-
Brand credibility
Users are more likely to trust and support brands that prioritize inclusivity.
Accessibility Expands Market Reach
Ignoring accessibility means excluding a large audience. This clearly shows why accessibility is crucial in 2026 web design for business growth.
Accessible design allows businesses to:
-
Reach users with disabilities
-
Serve diverse user needs
-
Increase engagement and loyalty
-
Improve conversion opportunities
Inclusivity directly supports long-term growth.
Future-Ready and Scalable Design
Accessibility ensures websites remain adaptable as technologies evolve. This explains why accessibility is crucial in 2026 web design for long-term sustainability.
Future-ready accessible design supports:
-
New devices and interfaces
-
AI and voice technologies
-
Changing user expectations
-
Scalable digital platforms
Accessibility is an investment in the future.
Make Accessibility a Design Priority
Accessibility should be built into websites from the beginning—not added later. Businesses that prioritize accessibility gain better UX, stronger SEO, wider reach, and long-term trust.
If you’re planning to design or redesign a website with accessibility at its core, expert guidance can help you implement best practices effectively.
Connect with web professionals here.
Final Thoughts
So, why accessibility is crucial in 2026 web design?
Because it improves user experience, boosts SEO, supports AI and mobile interactions, ensures compliance, builds trust, and expands reach.
Explore more related articles to deepen your understanding
Best Fonts for Branding: Create a Lasting Visual Identity
SEO Content Writing: A Complete Guide for BeginnersDoes Google use Cloudflare
Content Writing Basics: A Beginner’s Guide to Effective Writing