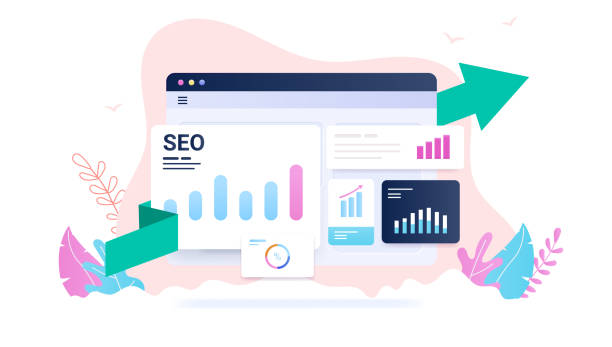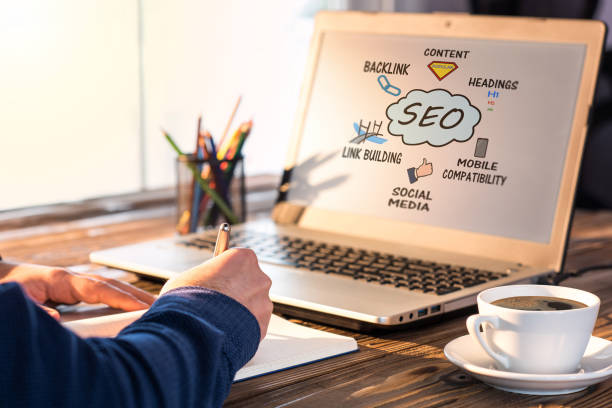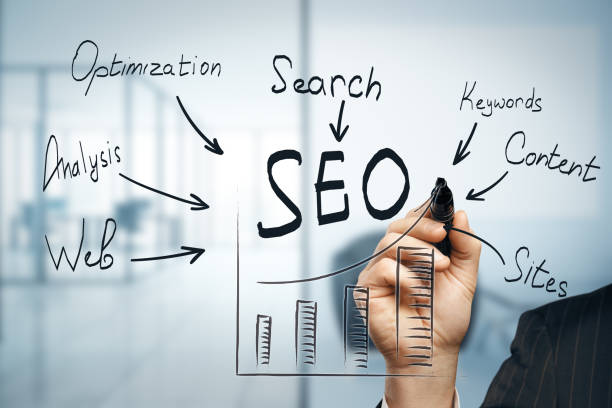
How SEO Increases Conversions for Businesses
Getting traffic to a website is important, but converting visitors into customers is what truly drives growth. Understanding how SEO increases conversions helps businesses move beyond visibility and focus on real results. SEO is not just about rankings; it is about attracting the right users and guiding them toward action.
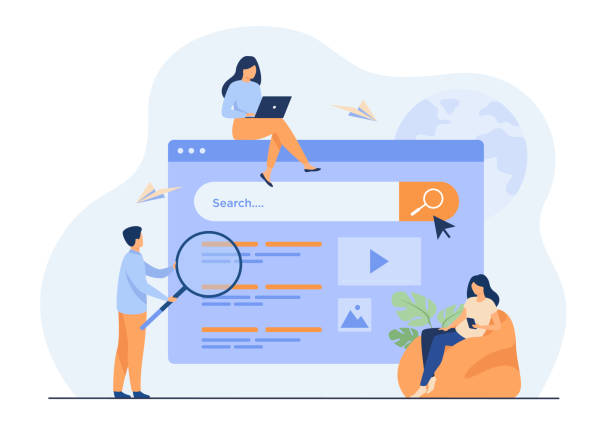
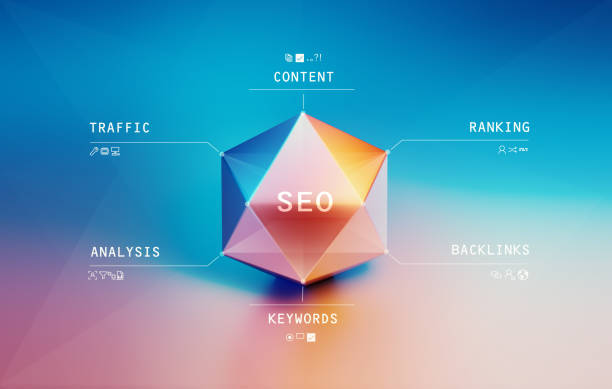
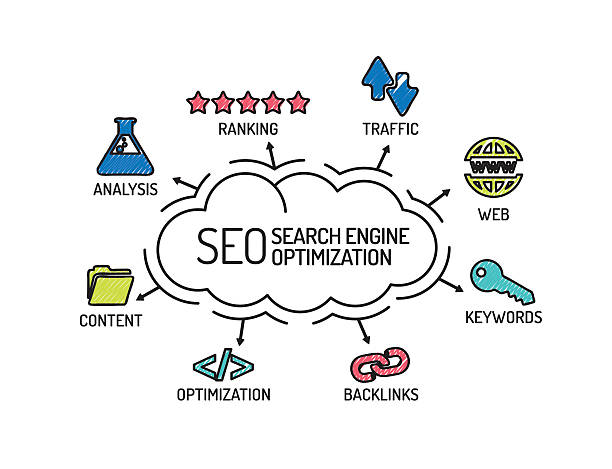
Attracts High-Intent Traffic
SEO targets users who are already searching for solutions.
Reaching Users Ready to Act
People using search engines often have a clear intent—buying, booking, or learning. SEO brings these users to your site, which explains how SEO increases conversions more effectively than general marketing.
Better Audience Targeting
Optimized content matches user intent, ensuring visitors are genuinely interested in your product or service.
Improves Website User Experience
Search engines reward user-friendly websites.
Faster Loading and Mobile Optimization
SEO improves site speed and mobile usability, reducing bounce rates. A smooth experience plays a major role in how SEO increases conversions, as users are more likely to stay and take action.
Clear Structure and Navigation
Well-organized pages make it easier for users to find information, increasing trust and conversion rates.
Builds Trust and Credibility
Trust is essential for conversions.
Higher Rankings Build Confidence
Users trust websites that rank on the first page more than unknown or poorly ranked sites. This trust directly supports how SEO increases conversions.
Informative and Helpful Content
SEO encourages quality content that answers user questions, removing doubts and encouraging decision-making.
Optimizes Content for the Buyer Journey
SEO supports conversions at every stage.
Awareness to Decision Stage
Blog posts attract users early, service pages convert them later, and FAQs remove final objections. This full-funnel approach demonstrates how SEO increases conversions consistently.
Call-to-Action Optimization
SEO-driven content naturally guides users toward forms, calls, and purchases.
Local SEO Boosts Ready-to-Convert Leads
Local searches often lead to quick actions.
Users searching for nearby services are more likely to convert. Optimized local SEO increases calls, visits, and bookings, strengthening how SEO increases conversions for local businesses.
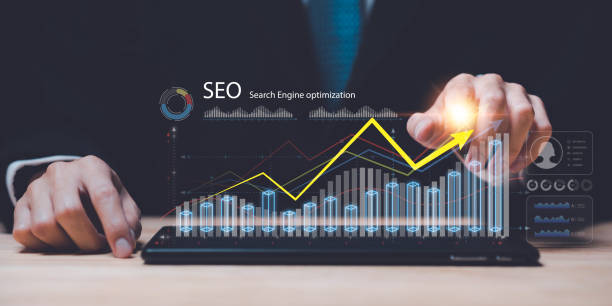
Data-Driven Optimization
SEO provides clear performance insights.
Analytics show which pages convert best, where users drop off, and what needs improvement. These insights help refine strategies and continuously improve how SEO increases conversions.
Long-Term Conversion Growth
SEO results compound over time.
Unlike ads, SEO keeps converting users long after content is published. This long-term impact highlights how SEO increases conversions sustainably.
Get Expert SEO Support
To maximize conversions, SEO must be implemented strategically. Professional SEO services ensure technical accuracy, strong content, and conversion-focused optimization.
Trusted SEO Guidelines in India
Following official practices ensures stable growth and reliable conversions. Google’s SEO documentation is a trusted Indian and global reference.
Final Thoughts
Understanding why SEO is more than a traffic strategy. By targeting intent-driven users, improving experience, and building trust, SEO turns visitors into customers.
When done correctly, SEO becomes a powerful conversion engine that supports long-term business success.
Explore more related articles to deepen your understanding
Best Fonts for Branding: Create a Lasting Visual Identity
SEO Content Writing: A Complete Guide for BeginnersDoes Google use Cloudflare
Content Writing Basics: A Beginner’s Guide to Effective Writing