Why SEO Fails and How to Avoid It
Many businesses invest time and money into SEO but still struggle to see results. Understanding why SEO fails is essential if you want consistent traffic and higher rankings. In most cases, failure does not come from SEO itself, but from incorrect strategies, unrealistic expectations, and poor execution.
Lack of a Clear SEO Strategy
One of the biggest reasons why SEO fails is starting without a clear plan. SEO is not about random keywords or publishing content without direction.
No Defined Goals or Audience
When websites fail to define their target audience, content becomes generic and unfocused. Search engines prefer pages that clearly solve specific user problems.
Without clear goals, efforts become scattered, which explains why SEO fails for many businesses.
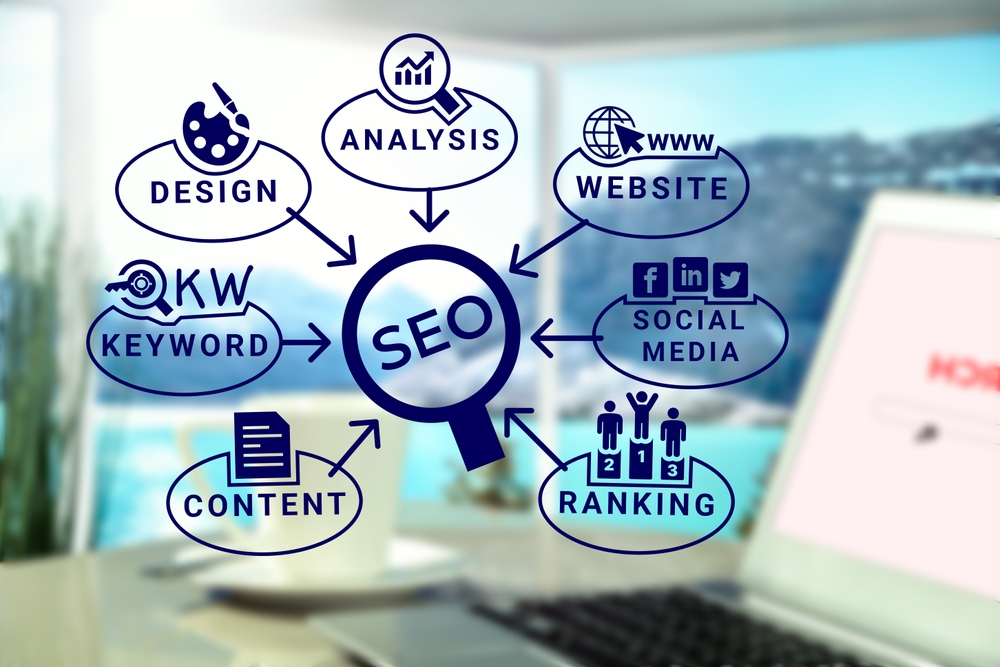
Poor Keyword and Content Decisions
Content is a core ranking signal, but only when done correctly.
Chasing Wrong Keywords
Targeting highly competitive or irrelevant keywords makes it difficult to rank. Keyword research must align with user intent, not just search volume.
Ignoring intent is another major reason why SEO fails even after months of effort.
Low-Quality or Thin Content
Publishing short, copied, or unhelpful content hurts trust. Search engines reward depth, originality, and usefulness.
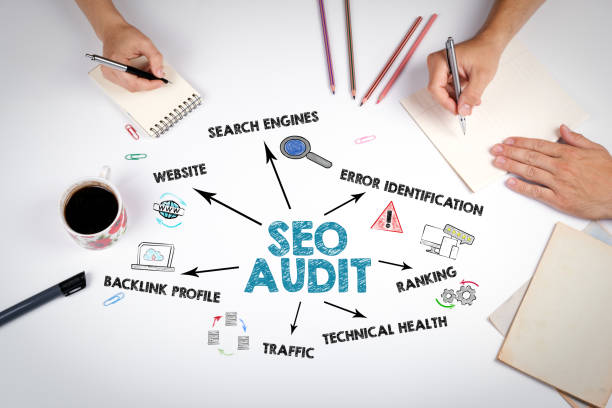
Ignoring Technical SEO Basics
Technical issues silently damage rankings and visibility.
Slow Website and Poor Mobile Experience
A slow-loading or non-mobile-friendly site leads to higher bounce rates. Search engines notice poor user experience and lower rankings accordingly.
Technical neglect clearly shows why SEO fails even when content looks good.

Indexing and Crawl Issues
If search engines cannot properly crawl or index pages, rankings will never improve. Clean site structure and proper indexing are essential.
Unrealistic Expectations and Lack of Patience
SEO is a long-term process, not an instant solution.
Many businesses give up too early, expecting results in weeks instead of months. This impatience often explains why SEO fails despite correct implementation.
Weak Link-Building Practices
Links are a trust signal, but only when earned ethically.
Buying low-quality backlinks or using spammy tactics can lead to penalties. Sustainable growth depends on relevance and authority, not shortcuts.
No Regular Monitoring or Updates
Search algorithms evolve constantly. Websites that fail to update content, fix errors, or track performance slowly lose rankings.
Ongoing optimization is necessary to avoid why SEO fails over time.
Get Expert SEO Support
SEO success requires strategy, consistency, and expertise. Professional guidance can help identify issues early and create a results-driven plan.
For expert SEO assistance, connect here.
Trusted SEO Practices in India
Following official search engine guidelines is critical for long-term success. Google’s SEO documentation is a reliable Indian and global reference.
Final Thoughts
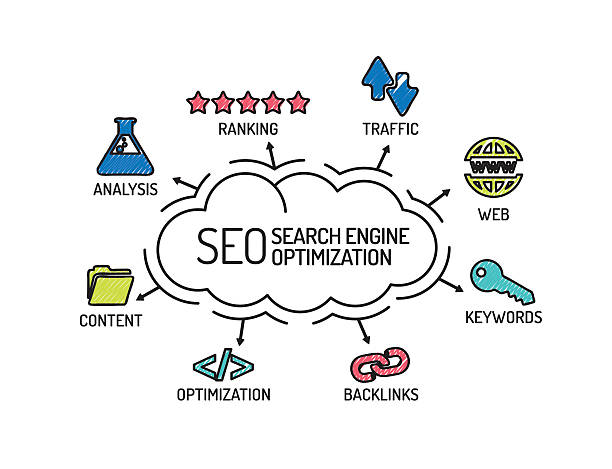
Understanding why SEO fails helps businesses avoid common mistakes and build smarter strategies. SEO works when content quality, technical health, user experience, and patience come together.
By focusing on best practices and continuous improvement, SEO becomes a powerful growth tool rather than a frustrating expense.
Explore more related articles to deepen your understanding
Best Fonts for Branding: Create a Lasting Visual Identity
SEO Content Writing: A Complete Guide for BeginnersDoes Google use Cloudflare
Content Writing Basics: A Beginner’s Guide to Effective Writing