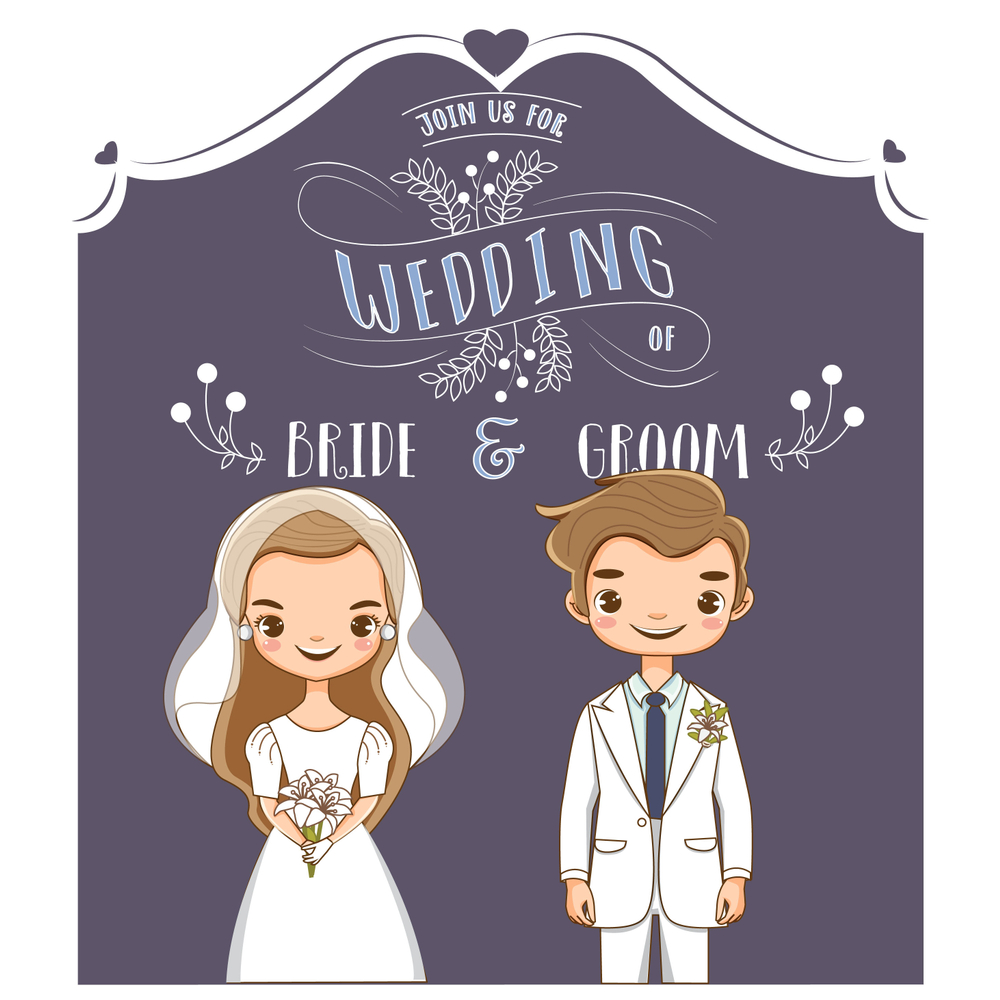
Why Choose Digital Wedding Invitations?
In the modern era, Digital Wedding Invitations have revolutionized the way couples invite guests to their special day. With a blend of convenience, cost-effectiveness, and sustainability, digital invites are becoming the preferred choice over traditional paper invitations.
Benefits of Digital Wedding Invitations
1. Eco-Friendly Option
With growing concerns over environmental sustainability, E-Wedding Invitations eliminate the need for paper, reducing waste and promoting a greener planet.
2. Cost-Effective
Traditional wedding invitations involve printing, postage, and delivery costs. Digital invites save money while still offering elegant and customizable designs.
3. Instant Delivery & Easy RSVP
One of the biggest advantages of E- Wedding Invitations is their instant delivery. Guests receive their invites through email, social media, or messaging apps, making it easier to RSVP.
4. Customizable Designs
From animated invites to video messages, couples can create unique and interactive digital invitations tailored to their wedding theme.
How to Create Stunning Digital Wedding Invitations
Creating an eye-catching Digital Wedding Invitation requires attention to design, personalization, and user experience. Here’s how you can craft the perfect e-invite:
1. Choose a Reliable Platform
Several online tools help design beautiful E-Wedding Invitations, including:
- Canva – User-friendly and offers a variety of templates.
- Evite – Great for managing RSVPs.
2. Select the Right Theme
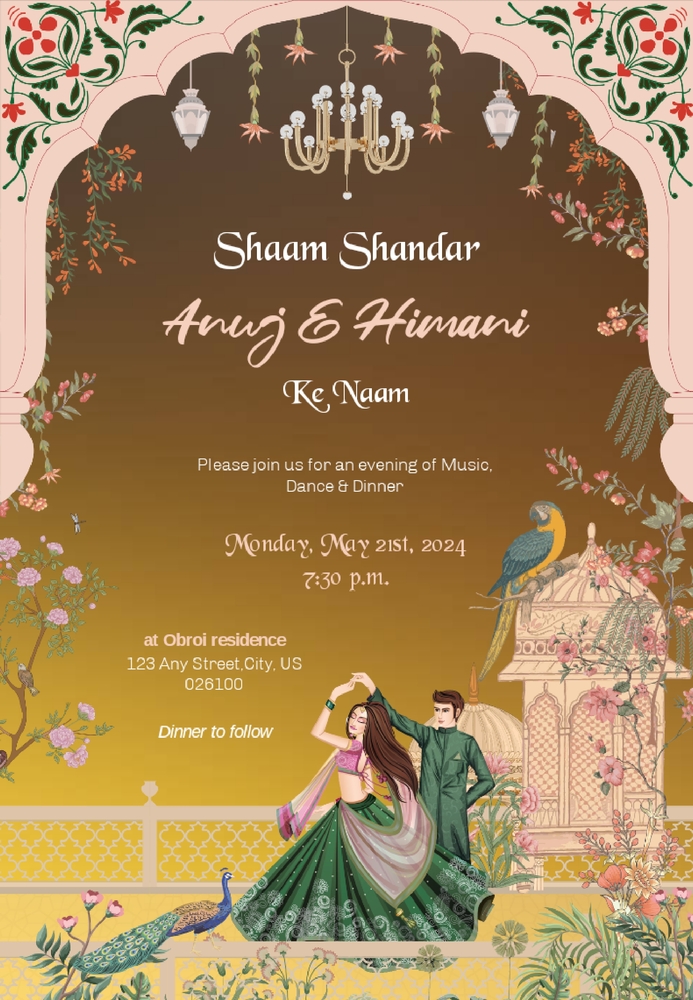
Your Digital Wedding Invitation should reflect your wedding theme. Whether it’s floral, vintage, or modern minimalist, ensure the design aligns with your event’s aesthetic.
3. Add Personalized Touches
Make your invitations special by incorporating:
- A heartfelt message
- Your favorite couple’s photo
- Wedding details like date, time, and location
4. Include an RSVP Link
A Digital Wedding Invitation allows seamless guest management. Adding an RSVP link makes it easier for guests to confirm attendance.
For those who want fully customized E-Wedding Invitations, our team at Digitor is ready to assist you in crafting a unique and memorable digital invite.
Conclusion
E-Wedding Invitations are more than just a trend; they are a smart, stylish, and sustainable way to invite loved ones to your special day. From saving costs to offering creative flexibility, e-invites make wedding planning smoother and more efficient. Start designing yours today and make a lasting impression on your guests!