Why Choose Personalized E-Invites?
In today’s digital era, Personalized E-Invites have transformed how couples send out wedding invitations. These custom digital invites offer a blend of creativity, convenience, and sustainability, making them a top choice over traditional paper invitations.
Benefits of Personalized E-Invites
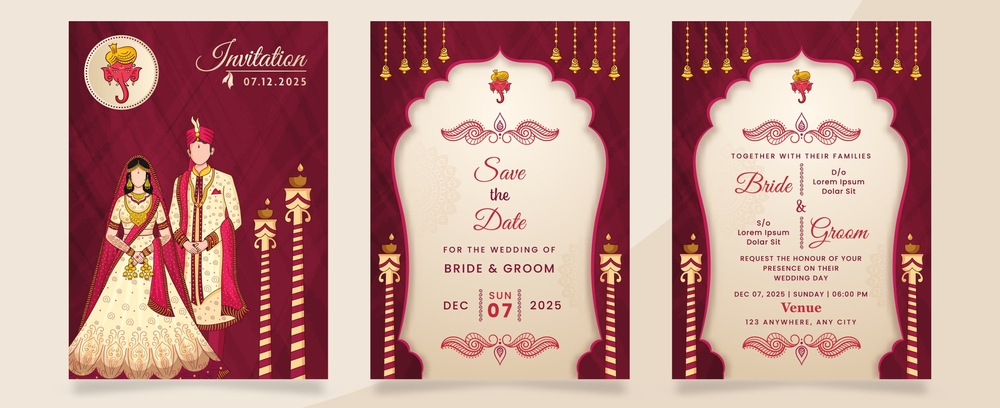
1. Unique and Tailor-Made Designs
Unlike generic wedding invitations, Personalized E-Invites are designed to match your wedding theme, personality, and preferences, making them truly special.
2. Cost-Effective and Eco-Friendly
Printing and mailing traditional wedding invitations can be expensive and wasteful. E-Invites eliminate these costs while reducing environmental impact.
3. Instant Delivery and Easy RSVP Tracking
With Personalized E-Invites, you can instantly send your wedding invitations via email, WhatsApp, or social media, making RSVP management seamless and hassle-free.
4. Interactive and Engaging Features
Personalized E-Invites allow couples to incorporate interactive elements such as animations, music, video messages, and QR codes to enhance the guest experience.
How to Design the Perfect E-Invite
1. Choose a Trusted Design Platform
Several online platforms can help you create stunning E-Invites, including:
- Canva – Offers customizable wedding invitation templates.
- Greenvelope – Provides elegant and eco-friendly digital invites.
- Evite – Features stylish e-invite designs with RSVP tracking.
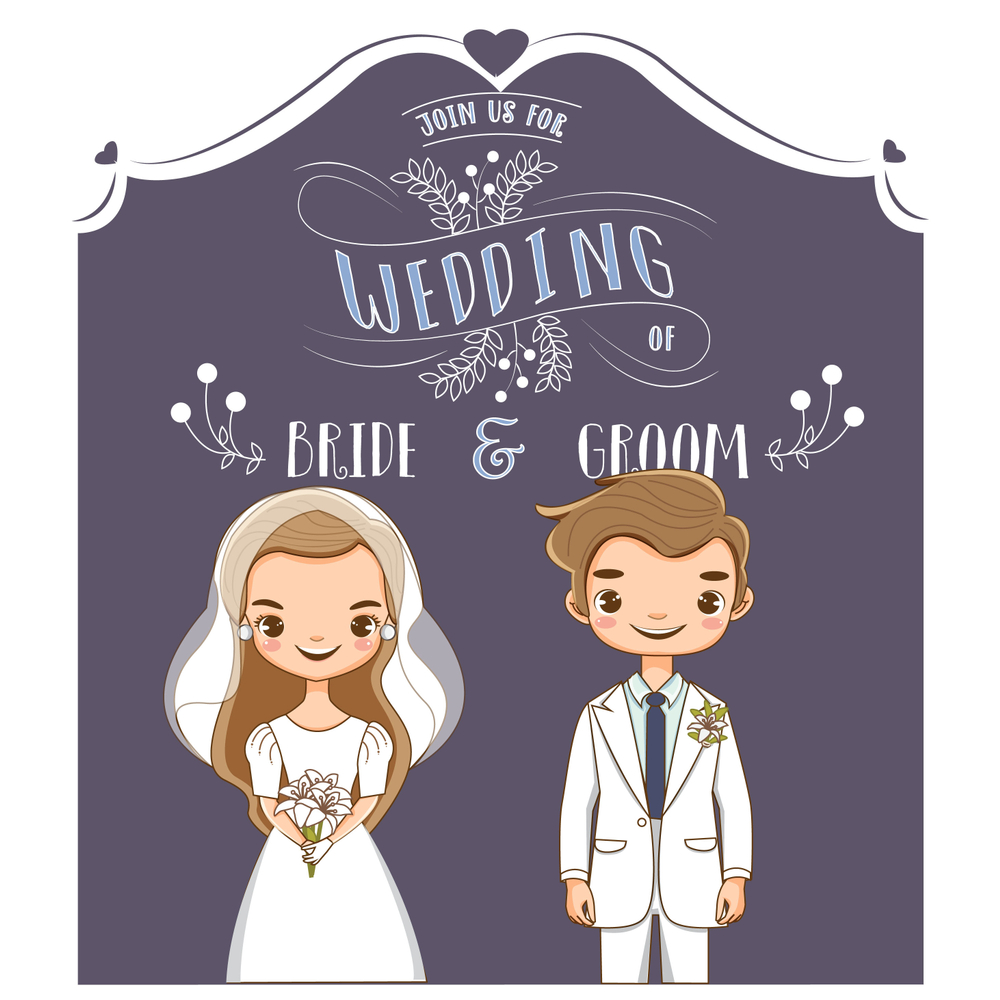
2. Select a Theme That Reflects Your Wedding Style
Your E-Invite should match your wedding’s aesthetic. Some popular themes include:
- Classic and elegant
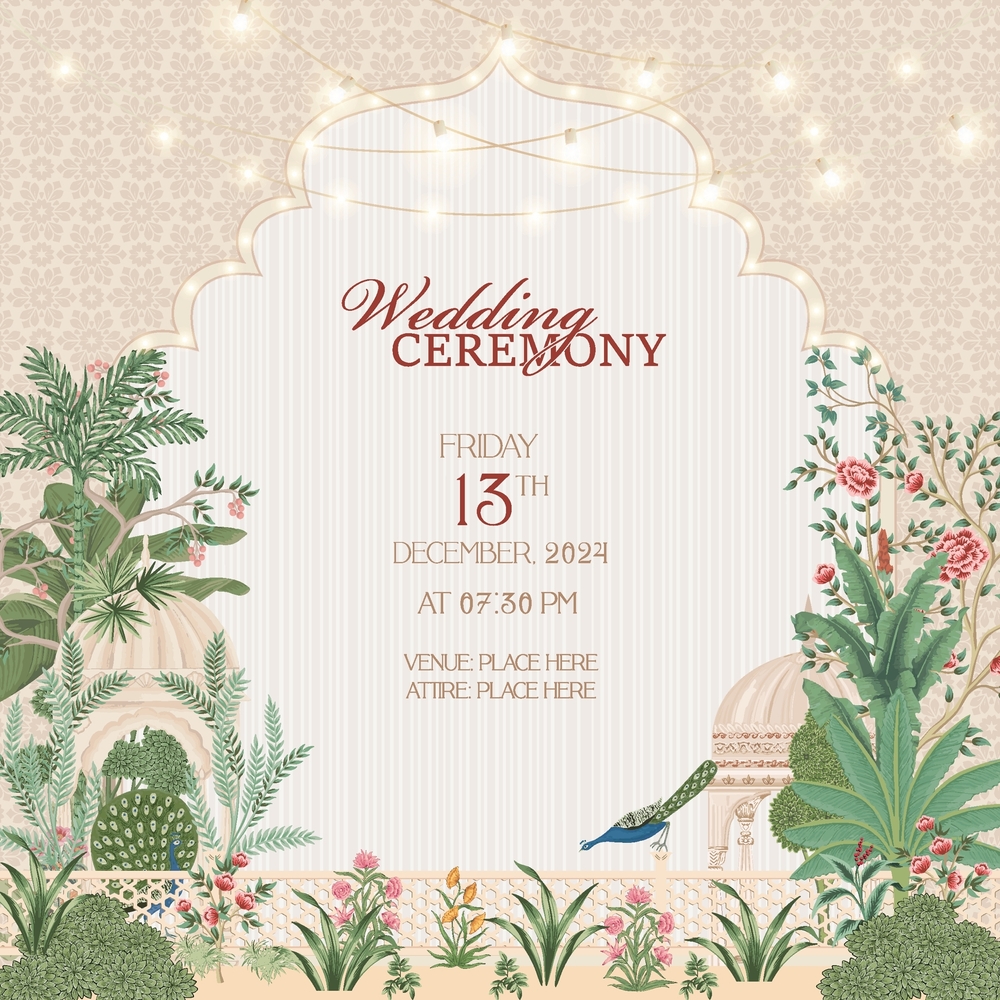
- Floral and romantic
- Modern and minimalist
- Vintage and traditional

3. Include Essential Details
Ensure that your E-Invite includes:
- Couple’s names
- Wedding date and time
- Venue details or virtual wedding link
- RSVP instructions
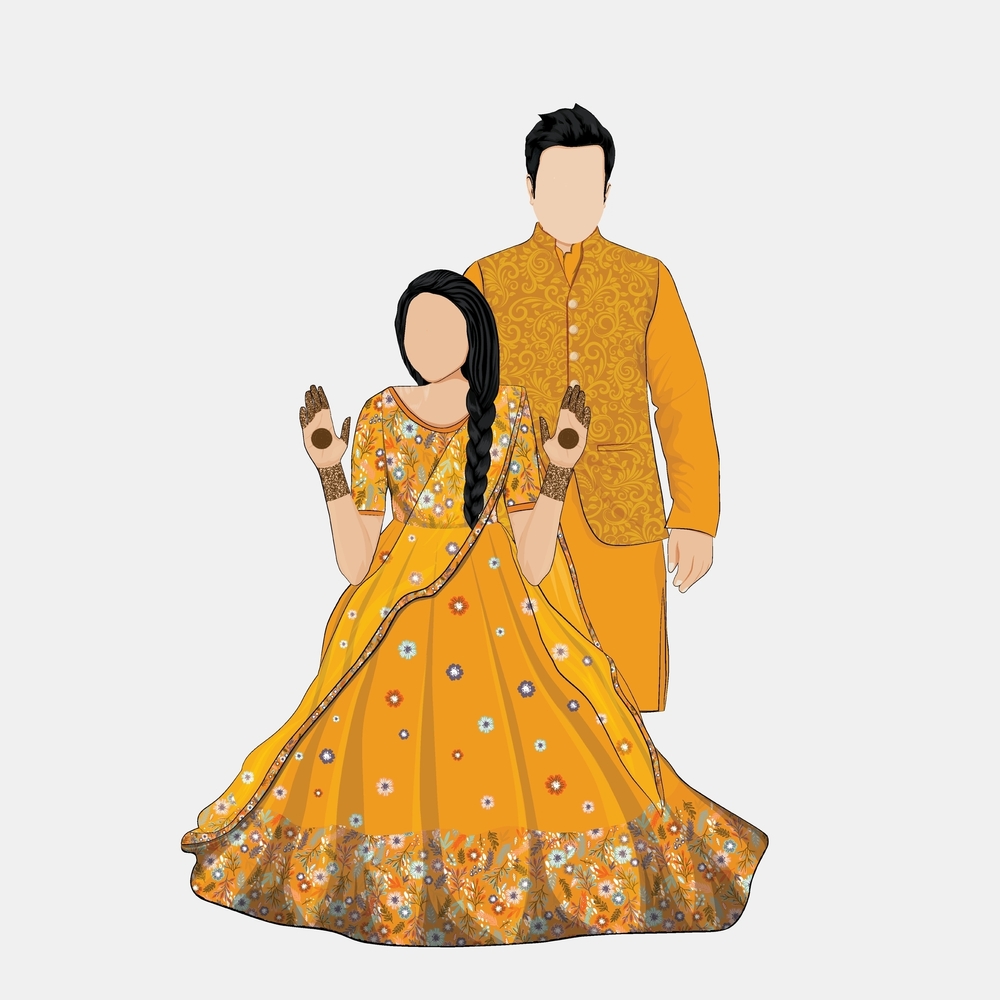
4. Enhance Your Invite with Personal Touches
Make your E-Invite truly unique by adding:
- Custom illustrations
- Personalized video messages
- Handwritten fonts and calligraphy
- A meaningful quote or love story snippet
Where to Get the Best E-Invites
For high-quality Personalized E-Invites, check out these platforms:
- Paperless Post – Offers beautifully designed custom e-invites.
- Evite – Provides a range of personalized digital wedding invitations.
For fully custom-designed E-Invites, reach out to Digitor to create an elegant and unique digital invitation for your special day.
Conclusion
E-Invites are a modern, stylish, and eco-conscious alternative to traditional wedding invitations. With their affordability, instant delivery, and endless customization options, they allow couples to create truly memorable wedding invitations. Start designing yours today and impress your guests with a beautifully crafted personalized e-invite!
External Resources
Evite: Online Invitations, eCards & Party Ideas


 Why Choose Custom Digital Wedding Cards?